Getting Started
Everything you need for website from header to footer and take your website to the next level!
Essential Security General Settings
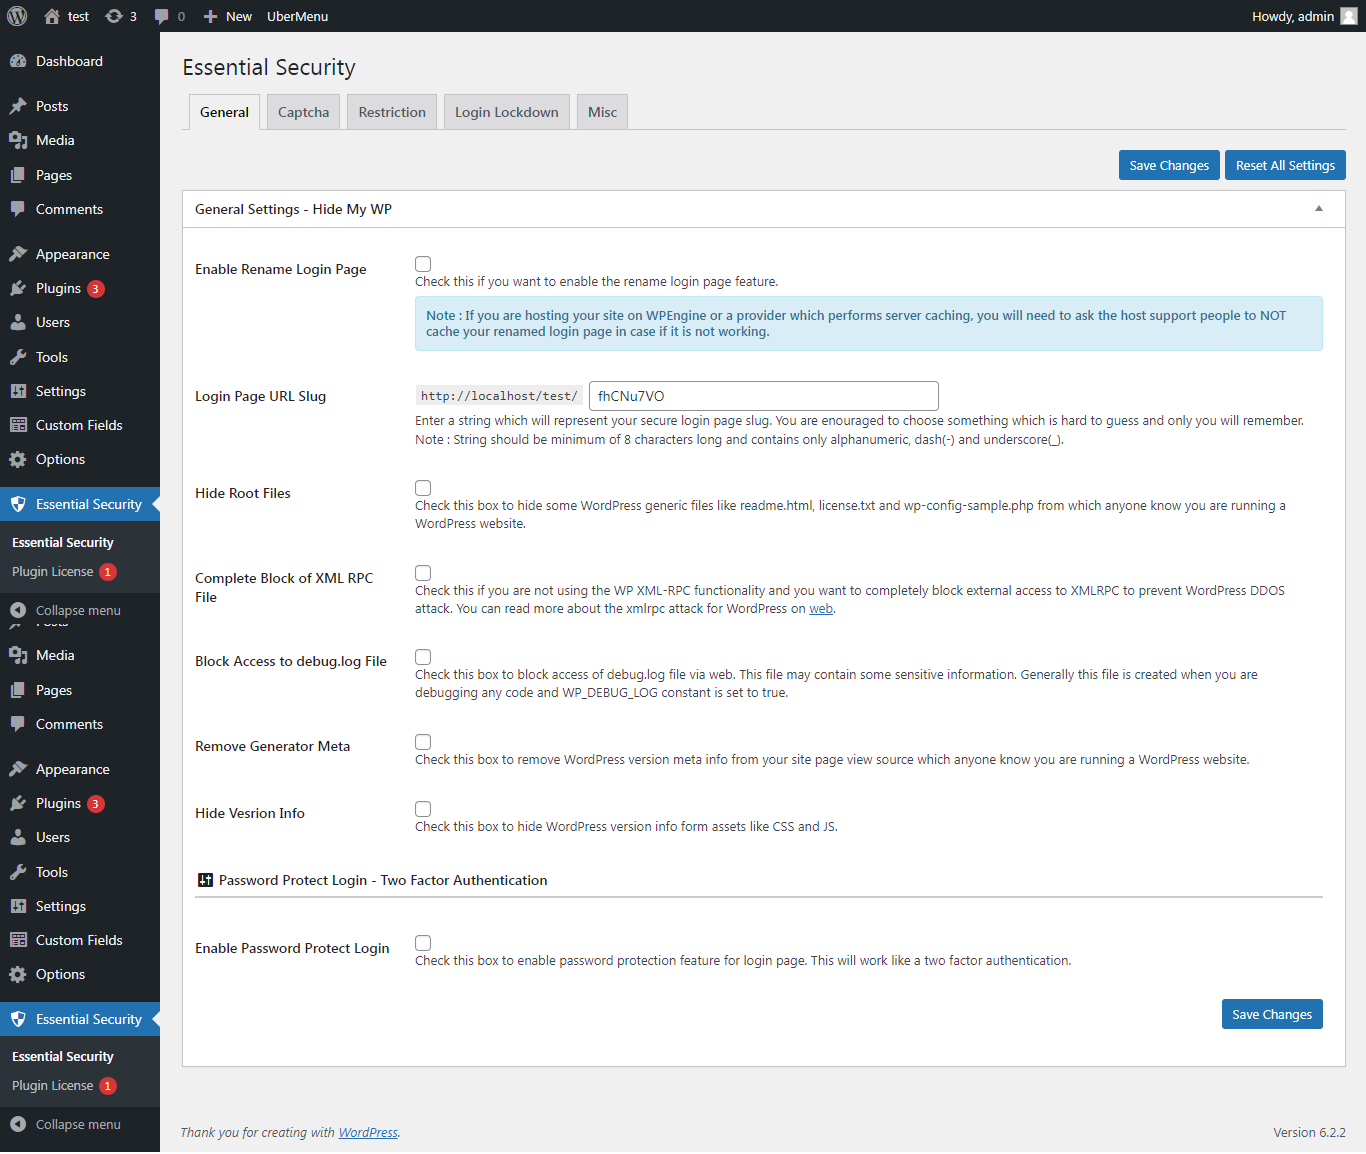
- Enable Rename Login Page: Check this if you want to enable the rename login page feature.
Note: If you are hosting your site on WPEngine or a provider which performs server caching, you will need to ask the host support people to NOT cache your renamed login page in case if it is not working. - Login Page URL Slug: Enter a string which will represent your secure login page slug. You are encouraged to choose something which is hard to guess and only you will remember.
i.e http://localhost/test/fhCNu7VO
NOTE: String should be minimum of 8 characters long and contains only alphanumeric, dash(-) and underscore(_). - Hide Root Files: Check this box to hide some WordPress generic files like readme.html, license.txt and wp-config-sample.php from which anyone know you are running a WordPress website.
- Complete Block of XML RPC File: Check this if you are not using the WP XML-RPC functionality and you want to completely block external access to XMLRPC to prevent WordPress DDOS attack. You can read more about the xmlrpc attack for WordPress on web.
- Block Access to debug.log File: Check this box to block access of debug.log file via web. This file may contain some sensitive information. Generally, this file is created when you are debugging any code and WP_DEBUG_LOG constant is set to true.
- Remove Generator Meta: Check this box to remove WordPress version meta info from your site page view source which anyone knows you are running a WordPress website.
- Hide Version Info: Check this box to hide WordPress version info form assets like CSS and JS.
Password Protect Login – Two Factor Authentication:
- Enable Password Protect Login: Check this box to enable password protection feature for login page. This will work like two-factor authentication.
- Protected Username: Enter username to protect login. You are enouraged to choose something which is hard to guess and only you will remember. Default value is
WP-SEC-User - Protected Password: Enter password to protect login screen. You are encouraged to choose something which is hard to guess and only you will remember.
NOTE: String should be a minimum of 8 characters long and contains only alphanumeric, dash(-), and underscore(_).
Captcha Settings
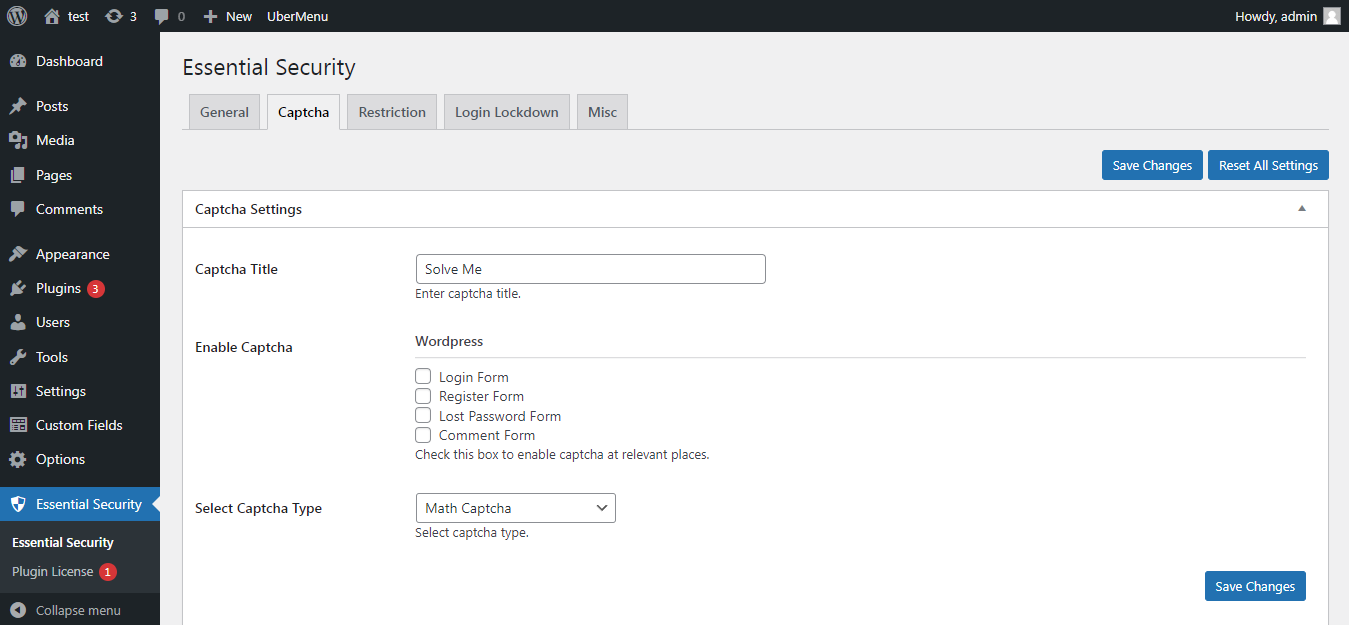
- Captcha Title: Enter the captcha title.
- Enable Captcha: Check this box to enable captcha at relevant places. Login Form, Register Form, Lost Password Form, Comment Form.
- Select Captcha Type: Math Captcha, Google reCaptcha, Google Invisible reCaptcha.
Google ReCaptcha:
- Captcha Site Key: Enter the Google reCaptcha site key. Get the google captcha API key from here.
- Captcha Secret Key: Enter Google reCaptcha secret key.
i.e Light, Dark
Google Invisible ReCaptcha:
- Captcha Site Key: Enter Google invisible reCaptcha site key. Get the google captcha API key from here.
- Captcha Secret Key: Enter Google invisible reCaptcha secret key.
- Select Captcha Position: Select Google invisible reCaptcha badge position.
i.e Bottom Right, Bottom Left, Inline
Restriction Settings
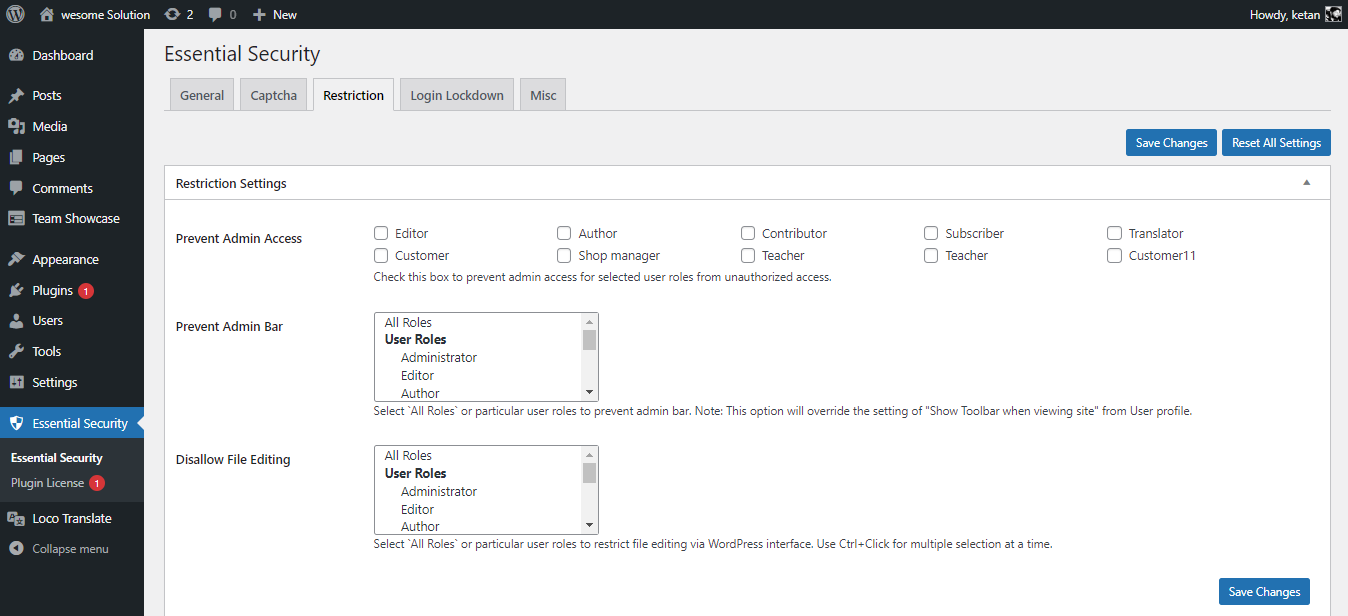
- Prevent Admin Access: Check this box to prevent admin access for selected user roles from unauthorized access.
- Prevent Admin Bar: Select `All Roles` or particular user roles to prevent the admin bar. Note: This option will override the setting of “Show Toolbar when viewing site” from the User profile.
- Disallow File Editing: Select `All Roles` or particular user roles to restrict file editing via the WordPress interface. Use Ctrl+Click for multiple selections at a time.
Login Lockdown Settings
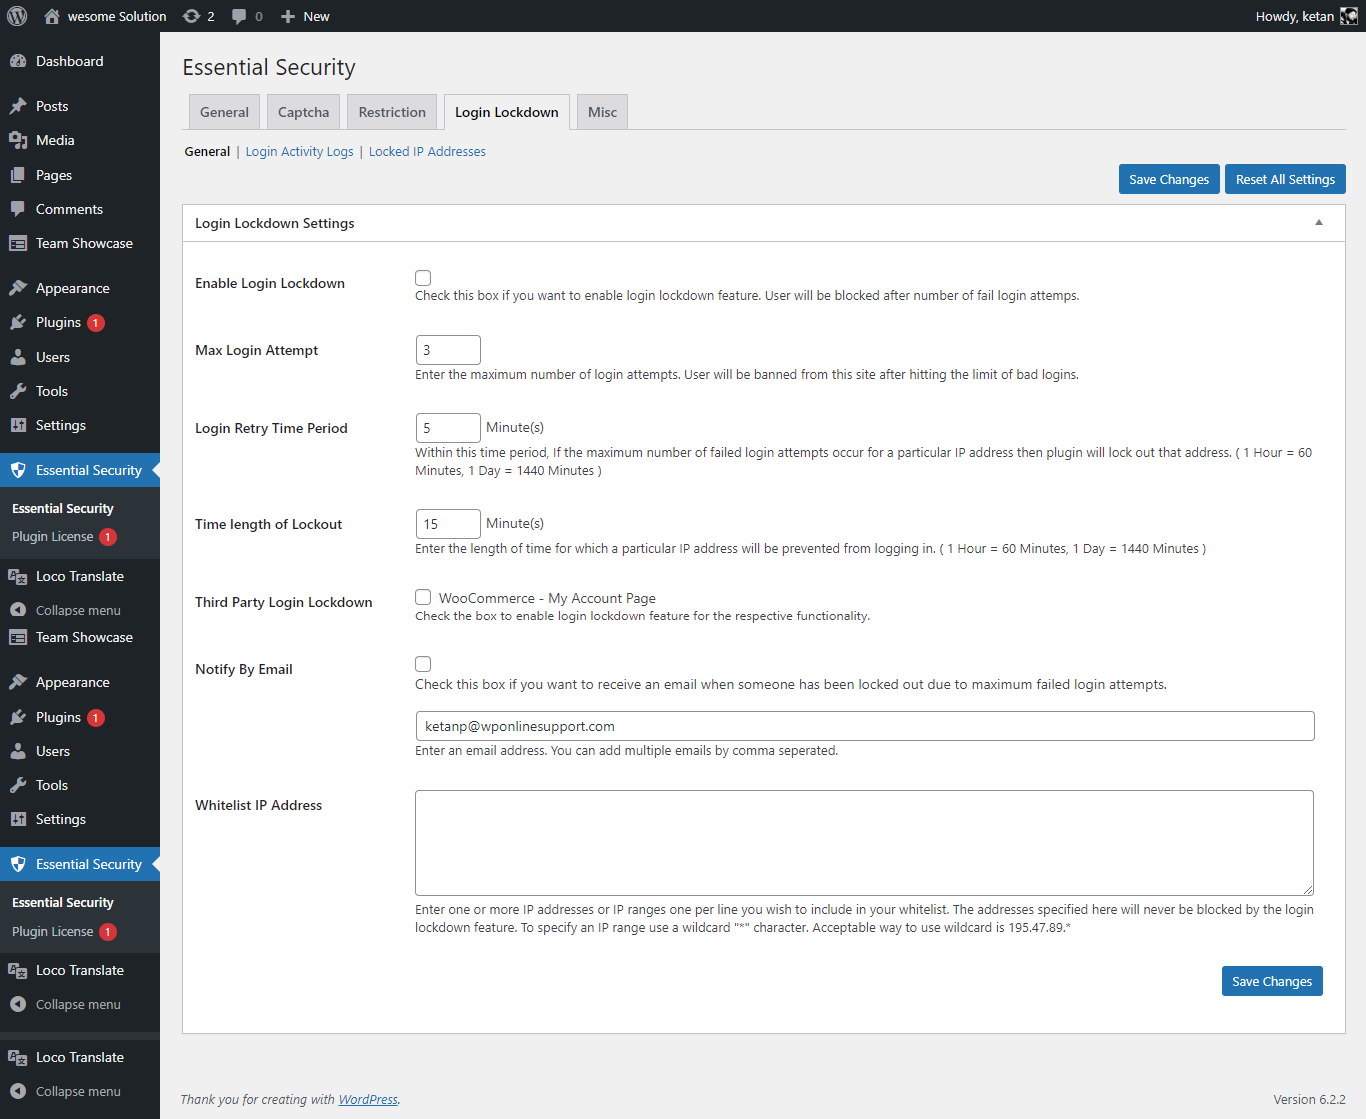
General Settings:
- Enable Login Lockdown: Check this box if you want to enable the login lockdown feature. The user will be blocked after a number of failed login attempts.
- Max Login Attempt: Enter the maximum number of login attempts. User will be banned from this site after hitting the limit of bad logins.
- Login Retry Time Period: Within this time period, If the maximum number of failed login attempts occur for a particular IP address then the plugin will lock out that address. ( 1 Hour = 60 Minutes, 1 Day = 1440 Minutes ).
- Time length of Lockout: Enter the length of time for which a particular IP address will be prevented from logging in. ( 1 Hour = 60 Minutes, 1 Day = 1440 Minutes ).
- Third-Party Login Lockdown: Check the box to enable the login lockdown feature for the respective functionality.
- Notify By Email: Check this box if you want to receive an email when someone has been locked out due to maximum failed login attempts.
Enter an email address. You can add multiple emails by a comma separated. - Whitelist IP Address: Enter one or more IP addresses or IP ranges per line you wish to include in your whitelist. The addresses specified here will never be blocked by the login lockdown feature. To specify an IP range use a wildcard “*” character. An acceptable way to use a wildcard is 195.47.89.*
Login Activity Logs:
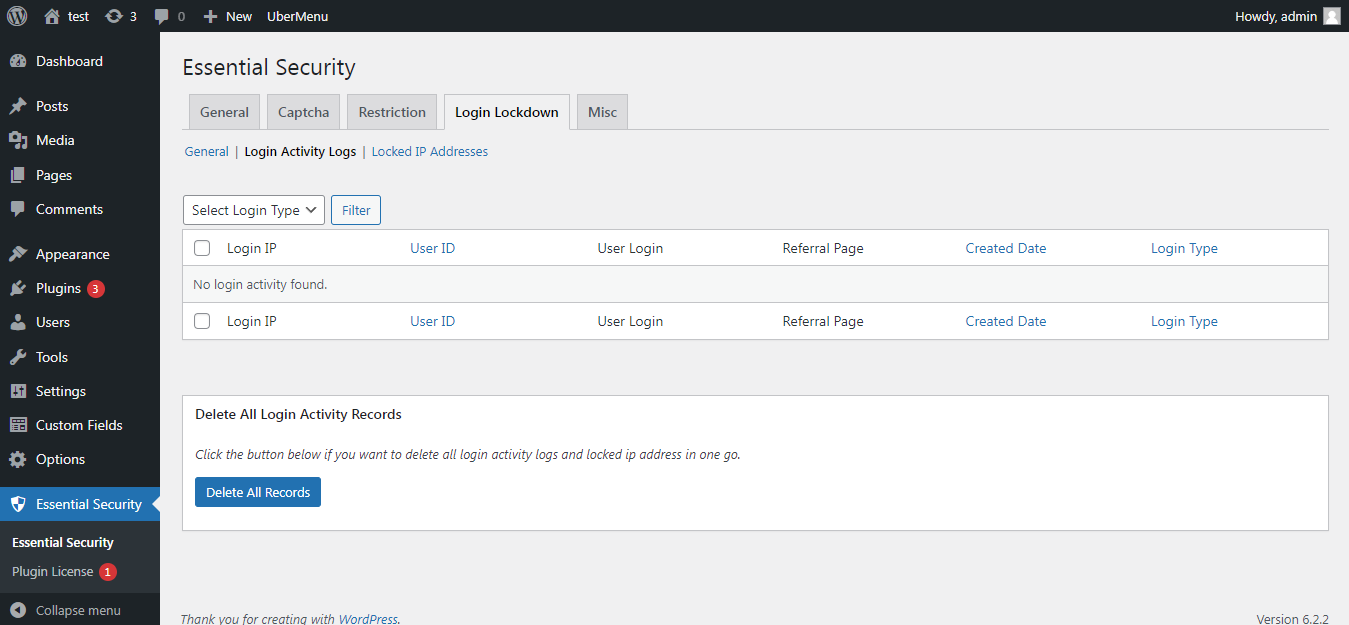
- Select Login Type: Failed, Sucess
Locked IP Address:
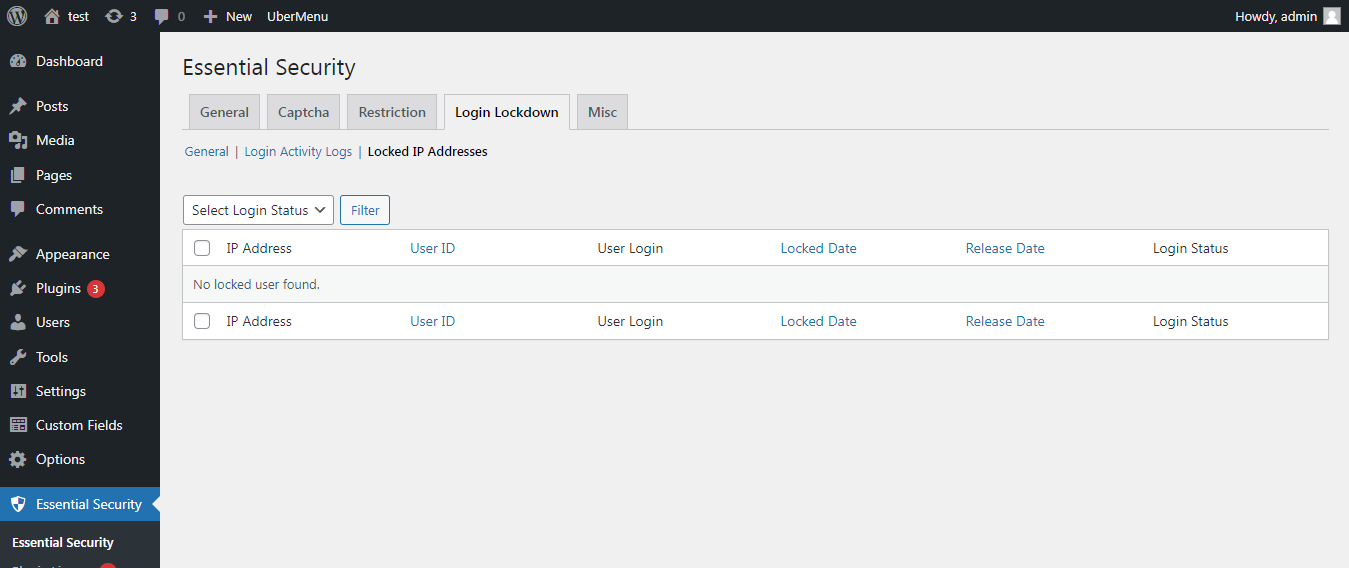
- Select Login Status: Released, Locked
Misc Settings
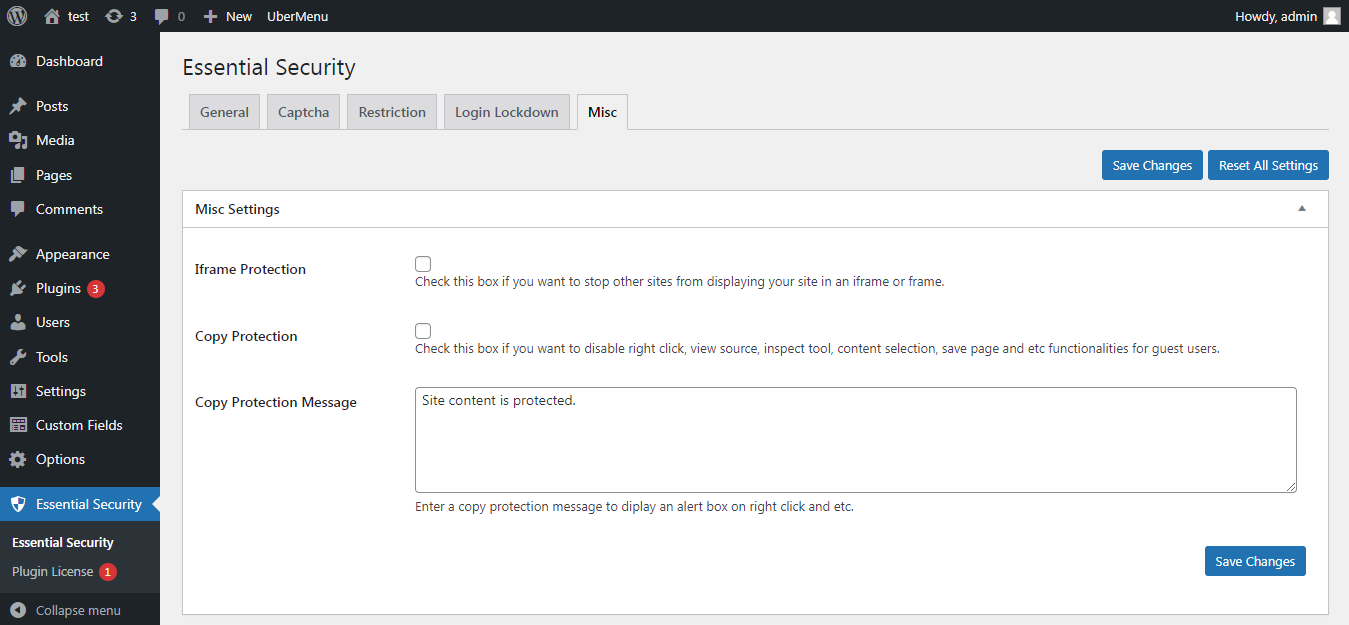
- Iframe Protection: Check this box if you want to stop other sites from displaying your site in an iframe or frame.
- Copy Protection: Check this box if you want to disable right click, view source, inspect tool, content selection, save page and etc functionalities for guest users.
- Copy Protection Message: Enter a copy protection message to display an alert box on right click and etc.