How To Install The Plugin
There are two ways to install your plugin.
- The first and easiest method is to uploading a WordPress plugin from wp-admin area.
- The second is manually installing a WordPress plugin using FTP.
Method 1: WordPress Install Method
Step 1 – Retrieve the plugin.zip file.
Note: If you downloaded the Main Files from Codecanyon, then you need to unzip the archive file you received, plugin.zip will be inside of it.
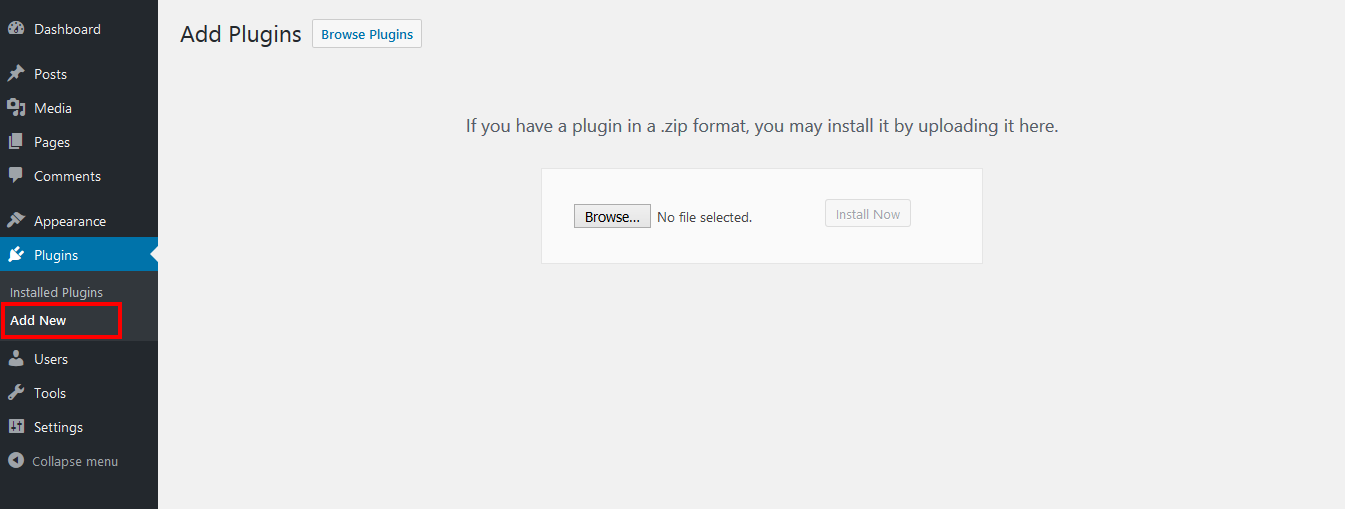
Step 2 – Then simply upload the plugin.zip file in the Plugins > Add New section. Click on the Upload Plugin tab at the top and choose to upload the zip file.
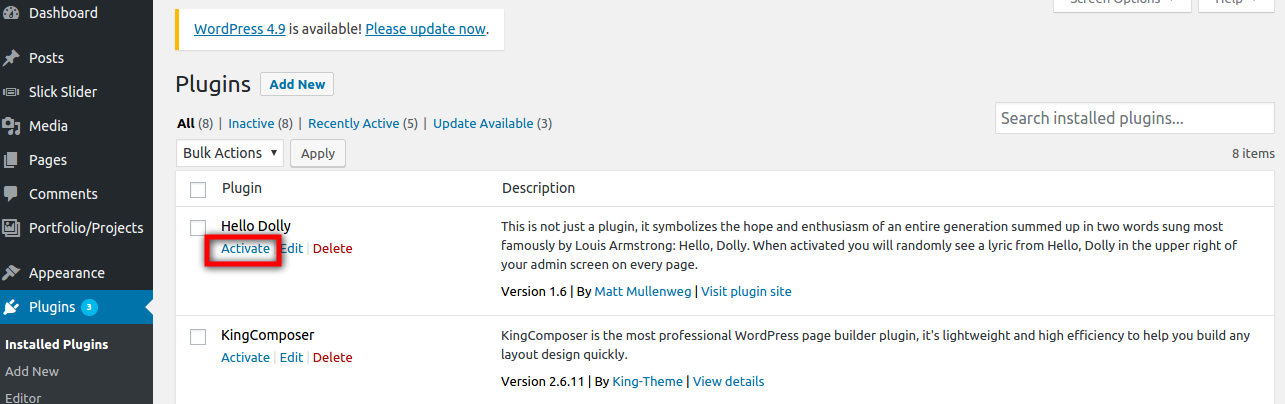
Step 3 – Once it uploads, choose to activate the plugin.
Note: If you are using FREE version and want to use PRO version, simply go to plugins–> add new –> upload PRO version zip file. Once you will activate the PRO version, FREE version will deactivate automatically.
Now, Your Plugin installed successfully!
Method 2: FTP Install Method
Step 1 – Connect FTP with relevant software.
Step 2 – Go to wp-content > plugins folder location.
Step 3 – Retrieve the plugin.zip file which you have download and extract the file to get the original plugin.
Step 4 – Then simply drag and drop the new plugin folder into wp-content > plugins location.
Step 5 – Now you can activate plugin via WordPress admin Plugin screen.
Note: If you are using FREE version and want to use PRO version, simply go to wp-content–> plugins –> Upload PRO version unzip file. Once you will activate the PRO version from plugins section, FREE version will deactivate automatically.